Introduction
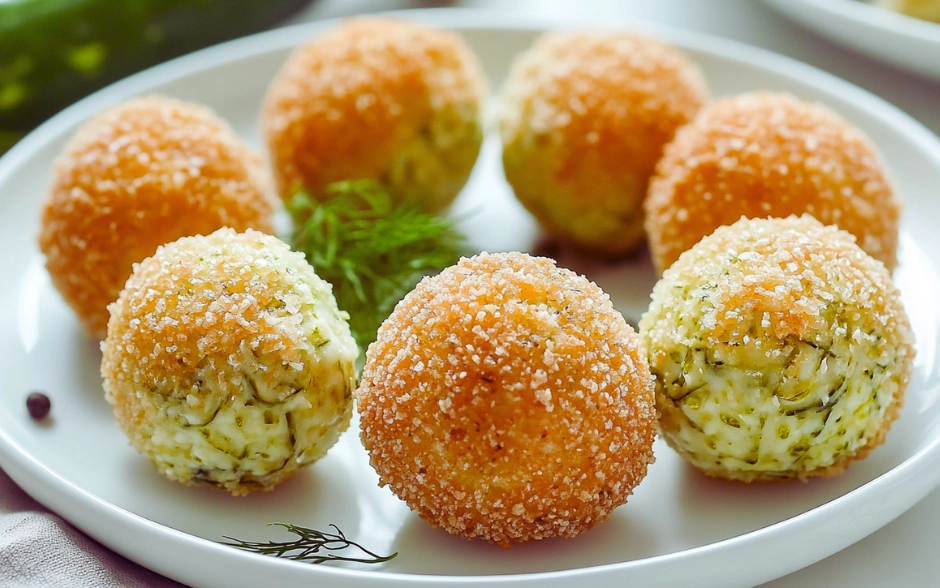
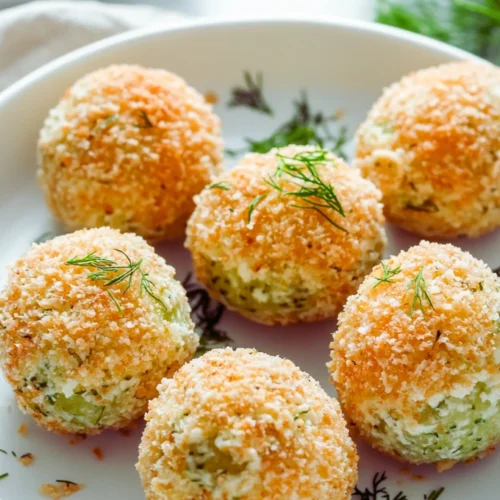
Dill Pickle Cheese Balls are a tangy, creamy appetizer perfect for parties, game nights, or any casual gathering. This bite-sized twist on the classic cheese ball combines the bold flavor of dill pickles with creamy cheese and crunchy coatings, making it an irresistible treat.
These cheese balls are simple to prepare and can be made ahead of time, saving you stress when entertaining. With their zesty kick and satisfying texture, they’re sure to be a hit with pickle lovers and cheese enthusiasts alike.
Ingredients
For the Cheese Ball Mixture:
- 8 ounces cream cheese, softened
- 1 cup sharp cheddar cheese, shredded
- 1/3 cup dill pickles, finely chopped
- 1 tablespoon pickle juice
- 2 tablespoons fresh dill, chopped
- 1 teaspoon garlic powder
- 1/2 teaspoon onion powder
- 1/4 teaspoon black pepper
For the Coating:
- 1/4 cup dill pickles, finely chopped
- 2 tablespoons fresh dill, chopped
- 1/4 cup crushed crackers (optional, for crunch)
Directions
- Prepare the Cheese Ball Mixture:
In a medium bowl, combine the softened cream cheese, shredded cheddar cheese, chopped dill pickles, pickle juice, fresh dill, garlic powder, onion powder, and black pepper. Mix well until fully combined and creamy.
- Shape into Balls:
Using a small cookie scoop or a tablespoon, portion out the mixture and roll into bite-sized balls with your hands. Place the balls on a parchment-lined baking sheet.
- Prepare the Coating:
In a shallow dish, combine the finely chopped dill pickles, fresh dill, and crushed crackers (if using).
- Coat the Cheese Balls:
Roll each cheese ball in the coating mixture, pressing gently to ensure the coating sticks. Return the coated balls to the baking sheet.
- Chill Before Serving:
Cover the cheese balls with plastic wrap and refrigerate for at least 1 hour to firm up and enhance the flavors.
- Serve:
Arrange the Dill Pickle Cheese Balls on a platter with crackers or fresh veggies and serve chilled.
Servings and Timing
- Servings: 12-15 cheese balls
- Prep Time: 15 minutes
- Chill Time: 45 minutes
- Total Time: 1 hour
- Calories: 110 kcal per cheese ball
Variations
- Spicy Version: Add a pinch of cayenne pepper or chopped jalapeños for a spicy kick.
- Bacon Addition: Mix in ¼ cup of crumbled cooked bacon for extra flavor.
- Nut Coating: Swap the pretzel coating for finely chopped pecans or walnuts for a nutty twist.
Storage/Reheating
- Storage: Store the cheese balls in an airtight container in the refrigerator for up to 3 days.
- Freezing: These cheese balls can be frozen without the coating. Freeze in a single layer, then transfer to a freezer-safe container. Thaw in the refrigerator and roll in the coating before serving.
5 FAQs
Can I use different types of cheese?
Yes! You can substitute sharp cheddar with other cheeses like pepper jack, gouda, or Monterey Jack for varied flavors.
What’s the best way to crush the pretzels or crackers?
Place them in a resealable plastic bag and crush them with a rolling pin for the perfect consistency.
Can I make one large cheese ball instead of mini balls?
Absolutely! Shape the mixture into a single large ball, coat it, and serve with crackers or veggies for dipping.
Can I make this dish ahead of time?
Yes, these cheese balls can be made a day ahead. Store them in the refrigerator and serve when ready.
Are these gluten-free?
To make this dish gluten-free, use gluten-free pretzels or crackers for the coating.
Conclusion
Dill Pickle Cheese Balls are a fun and flavorful appetizer that’s sure to impress your guests. With their tangy, creamy filling and crunchy coating, they offer the perfect combination of textures and tastes. Quick to prepare and easy to customize, these little bites of deliciousness are a must-have for your next gathering. Enjoy!
Dill Pickle Cheese Balls
Prep Time 15 minutes mins
Cook Time 1 hour hr
Total Time 1 hour hr 15 minutes mins
Category Appetizer
Cuisine American
Servings 14 balls
Calories 91 kcal
Tangy, creamy, and bursting with flavor, these Dill Pickle Cheese Balls are the ultimate party appetizer! Combining cream cheese, sharp cheddar, and crunchy dill pickles, these bite-sized snacks are easy to make and perfect for entertaining. Serve with crackers, veggies, or as a fun finger food at your next gathering!
For the Cheese Ball Mixture:
- 8 ounces cream cheese softened
- 1 cup sharp cheddar cheese shredded
- 1/3 cup dill pickles finely chopped
- 1 tablespoon pickle juice
- 2 tablespoons fresh dill chopped
- 1 teaspoon garlic powder
- 1/2 teaspoon onion powder
- 1/4 teaspoon black pepper
For the Coating:
- 1/4 cup dill pickles finely chopped
- 2 tablespoons fresh dill chopped
- 1/4 cup crushed crackers optional, for crunch
Prepare the Cheese Ball Mixture:
In a medium bowl, combine the softened cream cheese, shredded cheddar cheese, chopped dill pickles, pickle juice, fresh dill, garlic powder, onion powder, and black pepper. Mix well until fully combined and creamy.
Shape into Balls:
Using a small cookie scoop or a tablespoon, portion out the mixture and roll into bite-sized balls with your hands. Place the balls on a parchment-lined baking sheet.
Prepare the Coating:
In a shallow dish, combine the finely chopped dill pickles, fresh dill, and crushed crackers (if using).
Coat the Cheese Balls:
Roll each cheese ball in the coating mixture, pressing gently to ensure the coating sticks. Return the coated balls to the baking sheet.
Chill Before Serving:
Cover the cheese balls with plastic wrap and refrigerate for at least 1 hour to firm up and enhance the flavors.
Serve:
Arrange the Dill Pickle Cheese Balls on a platter with crackers or fresh veggies and serve chilled.
Nutrition Information (per cheese ball):
- Calories: 90
- Fat: 7g
- Carbohydrates: 2g
- Protein: 3g
Additional Notes:
- Use low-fat cream cheese if you prefer a lighter version.
- For extra tang, add a teaspoon of Dijon mustard to the mixture.
- Leftovers can be stored in an airtight container in the refrigerator for up to 3 days.
This post may contain affiliate links. Please read our disclosure policy.


If you love this recipe, please consider giving it a star rating when you leave a comment. Star ratings help people discover my recipes online. Your support means a lot to me, I appreciate you.